Mastering Anubis: Strategy Guide for CSGO Beginners
Welcome to the ultimate strategy guide for Mastering Anubis in CSGO, specifically designed for beginners. Anubis is a unique map that requires both tactical awareness and team coordination. To excel, you need to familiarize yourself with key areas of the map. Start by learning the layout: Mid is crucial for controlling the flow of the game, so always keep an eye on it. Proper use of smokes and flashbangs can provide excellent cover while pushing through tight corridors. Make sure to practice using the radar to communicate with your teammates about enemy positions, which can significantly improve your team's performance.
Next, let's discuss some essential tactics for Mastering Anubis. Firstly, always communicate with your team, whether you're planning an A or B site push. You can utilize a simple 3-2 split strategy to divide forces and confuse your enemies. Additionally, consider the importance of economy management; saving your weapons when needed can turn the tide in later rounds. Remember to use your grenades wisely, saving them for crucial moments like site takes or retakes. Practicing these strategies consistently will help you gain confidence and become a formidable player on Anubis.
Counter-Strike is a highly popular team-based first-person shooter that has captivated gamers around the world. The latest installment, commonly referred to as CS2, introduces new gameplay mechanics and a revamped graphics engine. For players aiming to improve their competitive standing, understanding cs2 ranks is crucial, as it influences matchmaking and overall experience.
Top 5 Sneaky Spots on Anubis to Gain the Upper Hand
When it comes to dominating the map in Anubis, knowing the best spots to hide and ambush your enemies can make all the difference. Here’s a look at the top 5 sneaky spots that can give you the upper hand:
- Behind the A Bombsite: This area offers a great vantage point while providing cover. Players often overlook this spot, making it ideal for surprise attacks.
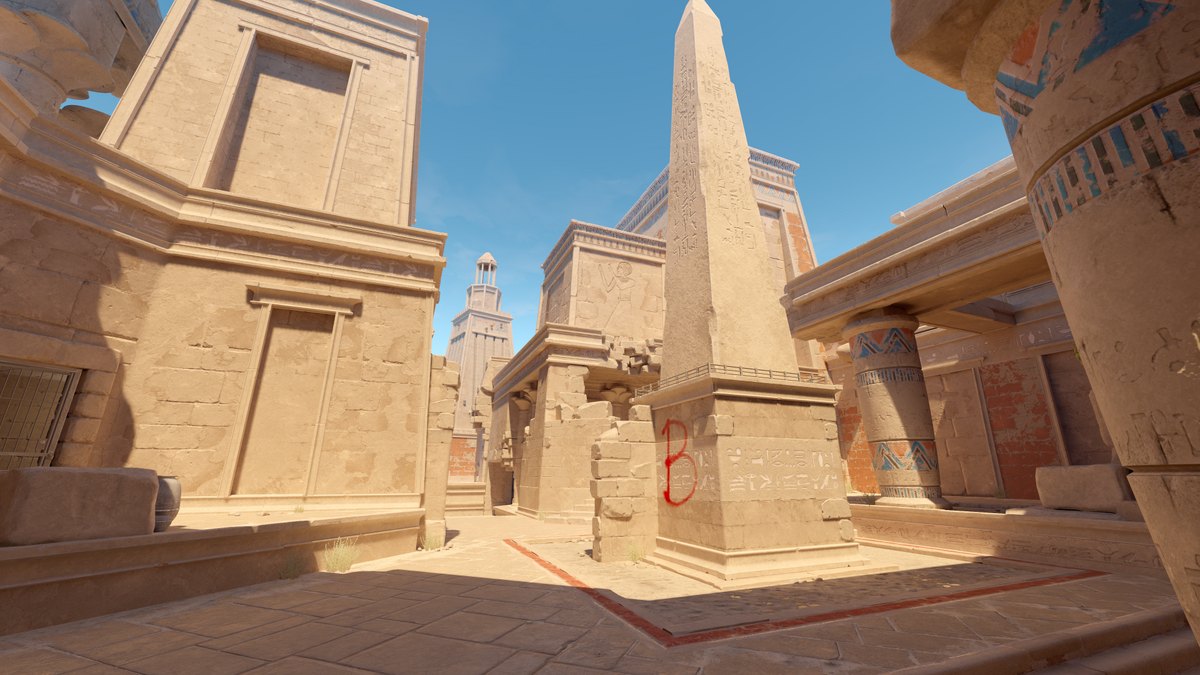
- Near the B Bombsite's Temple: The intricate architecture allows for sneaky entries and exits. Take advantage of the shadows to catch your opponents off guard.
- Under the Bridge: This often-forgotten area can help you flank unsuspecting enemies as they move across the map. Use this spot for a quick escape if things go awry.
- The Hanging Gardens: Utilize the foliage to remain hidden while scouting enemy positions. The high ground gives you visibility over key areas.
- In the C Building Ruins: This decaying structure is perfect for ambush strategies. Climb to the higher levels for a strategic overview while remaining shielded from immediate enemy fire.
How to Use Anubis' Layout to Your Advantage in Competitive Matches
Using Anubis' Layout strategically can significantly enhance your performance in competitive matches. The uniquely structured map offers both opportunities and challenges, making familiarity with its key areas essential. Start by mastering the A-site and B-site layouts. Understanding the geometry allows you to position yourself advantageously against your opponents, as you can anticipate their movements. Consider creating a personal guide or map walkthrough that highlights important choke points and high ground advantages. This preparation will not only sharpen your skills but also give you an edge over less familiar players.
Another crucial aspect is teamwork. Anubis' Layout emphasizes the need for coordination with your teammates. Ensure your team has clear communication about rotations and strategies based on the layout of the map. Utilize smoke grenades and flashbangs effectively to control sightlines and congested areas. Regularly practicing these strategies in different team compositions can boost your match success rate. Additionally, consider reviewing match footage to analyze positioning and decision-making based on the Anubis' Layout. Over time, this will refine your gameplay and adapt your strategies to outmaneuver competitive opponents.